
The direct answer
A small study desk setup for students needs one spot, one clear surface, one light plan, one storage rule, and one short reset. Choose the best surface you already have, keep its centre clear for the task in hand, use window and room light you already own, store the rest without drilling, and reset the surface when you finish.
Most advice about a study setup in a small room starts with shopping: a new desk, chair, lamp, and storage. You may share the room or the table, have no desk, and have nothing to spend.
This system starts from the room you already have. It gives you one study space at home you can set up in one evening. It does not fix noise, time, or method; it fixes the place.
The system in short
- Choose one spot you can use at the same time each day, and keep it for study.
- Lay out one small surface with a clear centre for the task in hand.
- Use the window and room light you already have, and test the setup at study time.
- Store everything else without drilling or buying, and pack shared surfaces away in one kit.
- Start with the same short routine, and reset the surface when you finish.
That is the whole setup. The steps below show how to build it.
Step 1: Choose one spot and keep it for study
Walk the room once, at the time you usually study. Look for a surface, a chair, and a socket within one cable length.
Rank what you already have: a desk beats a table end, and a table end beats a shared kitchen table. If you have no desk, pick a table end or a corner with a chair. That is still a study corner in a small bedroom, even if the table serves another use.
Test the spot before you set it up. Check four things: the chair pulls out without hitting the bed, the door still opens, you can walk past, and the surface holds a laptop or notebook with room to write. If one check fails, try the next spot. The checks decide whether a surface works, not its size alone.
Notice traffic and light at study time, not at noon if you study at 7pm. A spot by the door fails when people walk through it, and a spot facing a television fails when the television is on.
Do not study in bed. Use a table, a corner, or the library instead. The dorm study system sets out the quiet-hour agreement and the packed bag for a shared room.
If noise breaks your sessions, the focus system for noisy environments covers noise and interruptions.
Step 2: Lay out one small surface with a clear centre
Clear the surface completely before you lay anything out. Put everything in one pile on the floor, and look at the empty space.
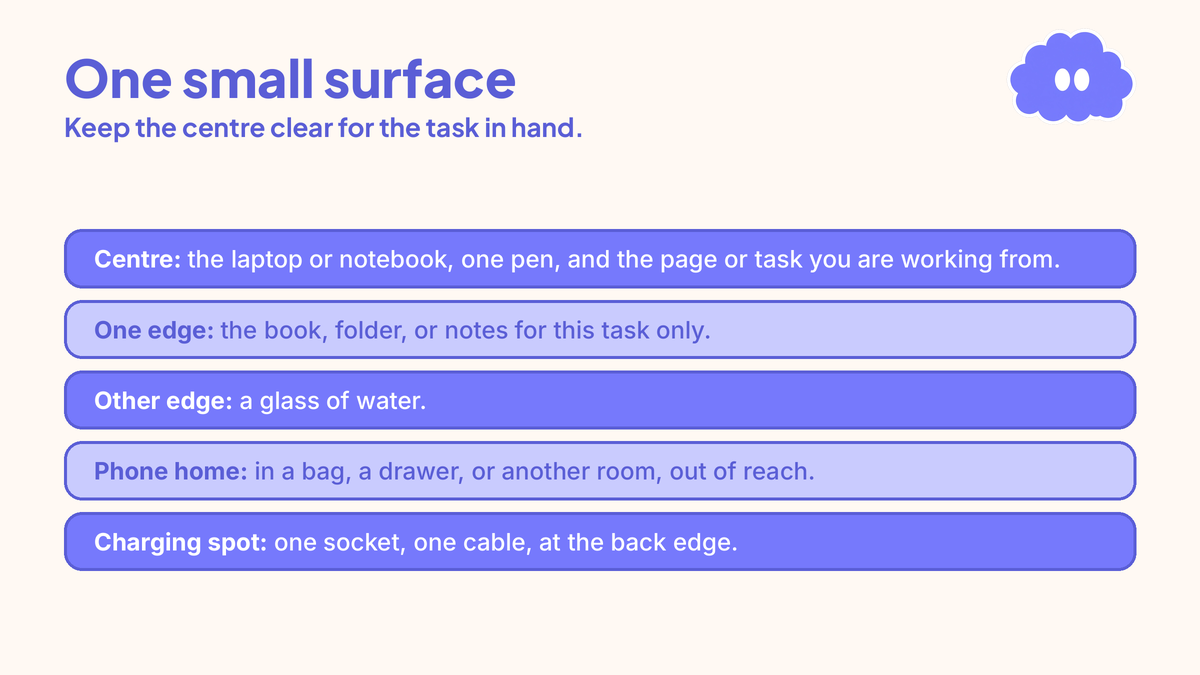
Keep the centre clear for the task in hand. The centre holds only what this task needs. Everything else lives at an edge, in a drawer, or in the kit from Step 4.
- Centre: the laptop or notebook, one pen, and the page or task you are working from.
- One edge: the book, folder, or notes for this task only.
- Other edge: a glass of water.
- Phone home: in a bag, a drawer, or another room, out of reach.
- Charging spot: one socket, one cable, at the back edge.
Keep three pens at most on the surface. Put the rest in a drawer or the kit.
Put the phone in its home before the task goes in the centre. For the full phone setup, use how to study without your phone.
The clear-surface rule is the same one in the study system for students with ADHD, where the desk holds nothing but the task. One task on the surface, one set of materials for that task, and nothing waiting for later.
Step 3: Use the light you already have
Start with the window and the room light you already have. Do not plan around a lamp you do not own. In a small bedroom study setup, light is often the limit in the evening. Check the setup at the time you study.
Sit with the window to one side if you can. Facing the window can put glare on the screen or page, and sitting with your back to the window can put your own shadow across the page. Side light is the starting point to try first.
If glare appears, try three fixes in order: move the chair a little to the side, close the curtain part-way, or angle the screen away from the window. Test each fix with the actual page or screen.
In the evening, use the room light you already have, and keep the work under the brightest part of it. There is no single best light in this system; there is the light you have, placed and tested at study time.
In a shared room, point the light at your work and away from the other person’s bed or chair. Check the light from their side of the room, and move it until it stays on your work.
Sit so you can write and type without hunching over the surface. If the screen sits low, raise it on a stack of books you already own, and check that the stack is stable. If you still cannot read comfortably, the spot needs Step 1 again.
Step 4: Store everything without drilling or buying
To organise a small study area, give every item a home, and keep most homes off the surface. The surface holds the task in hand.
Sort the pile from Step 2 into three groups: daily, weekly, and stored. Daily items go in the drawer, on the shelf, or in the kit nearest the chair; weekly items go on a shelf, in a box, or under the bed; stored items go out of the study corner entirely.
Use height without fixing anything to the wall. Stand books and folders upright in a box, a bag, or between heavy books. Stack papers in one folder per subject, with the current folder at the front. Do not drill, stick, or hang anything until you have checked the housing or landlord rules.
Dorm desk organisation without buying furniture works the same way: use the drawer and shelf you already have, and move the rest into one portable kit. The kit is one bag, basket, or box that holds pens, the current folder, the charger, and the notebook. It lives by the chair, or by the door when you do not study.
For a shared table, the kit is the system. Set it out when you start, and pack it away when the table is needed. The agreement about table time sits in the study system for shared-house students.
Step 5: Start the session and reset the surface
Use the same start every time, so starting needs no new decision. Do not tidy the whole room first, or the start becomes the session.
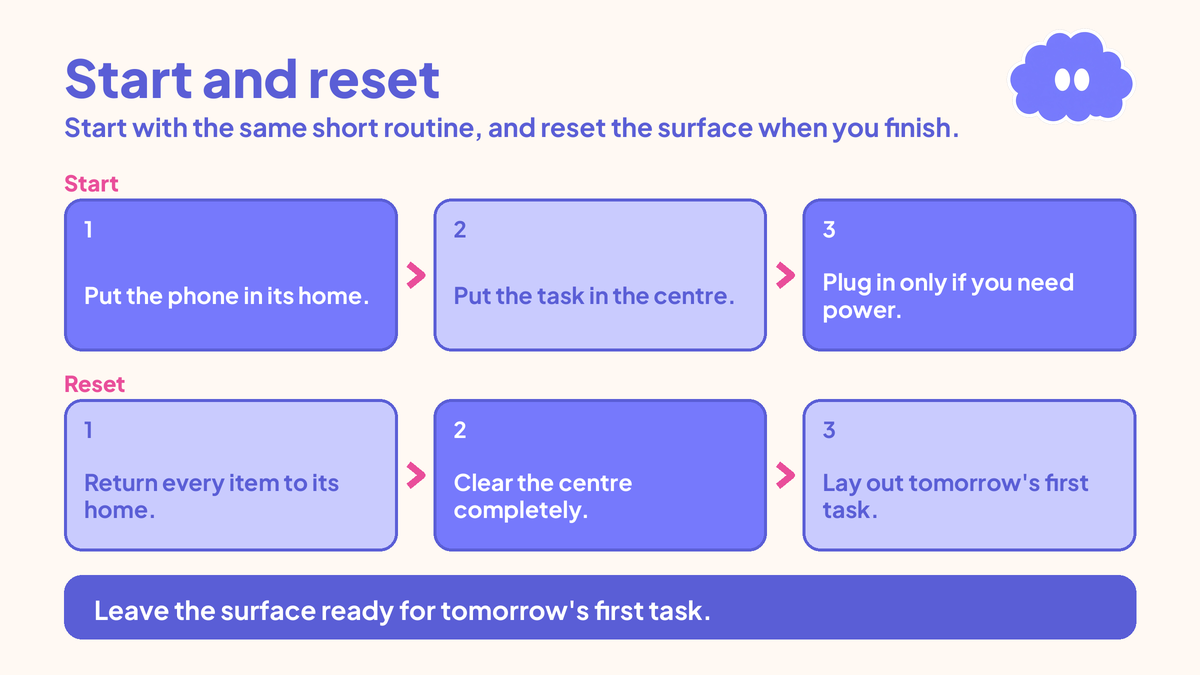
- Put the phone in its home.
- Put the task in the centre.
- Plug in only if you need power.
Put the task in the centre before you open anything else. If the centre holds more than the task, remove the extra item.
Reset the surface when you finish. Give the reset five minutes the first time you try it. This is a routine to try for a week, not a fixed rule.
- Return every item to its home.
- Clear the centre completely.
- Lay out tomorrow’s first task.
Leave the surface ready for tomorrow’s first task. Setting out the first task the night before is part of how to plan a study day the night before, so the reset ends with the next start already in place.
For a shared table, the reset is also the pack-away. Return items to the kit, clear the surface completely, and put the kit where it lives.
A worked example: a small study desk setup in a shared bedroom
Your situation: second-year student, shared bedroom, one small desk by the window, one roommate, study time 6:30pm to 8:30pm on weekdays, biology exam in three weeks.
- Sunday, 6:00pm to 6:45pm, clear and sort: everything comes off the desk. Daily items go in the drawer, weekly items in a box under the bed, and stored items in the wardrobe. The kit is a bag holding pens, the folder, the charger, and the notebook.
- Sunday, 6:45pm to 7:00pm, lay out and test light: the centre holds the notebook and one pen, the book goes on one edge, and water on the other. The phone home is the drawer. The chair turns so the window is to the left, and the room light is tested at 7:00pm.
- Monday, 6:25pm, start: the phone goes in the drawer, and the task goes in the centre: one page of notes from chapter 4, pages 42 to 50. Nothing else is on the surface.
- Monday, 6:30pm to 7:30pm, study: the book stays on one edge, and the notes stay in the centre. The roommate returns at 7:00pm, and the light stays pointed at the work.
- Monday, 7:30pm to 7:45pm, break: leave the surface and the room.
- Monday, 7:45pm to 8:30pm, study: the folder swaps to the next pages, and the phone stays in the drawer.
- Monday, 8:30pm to 8:35pm, reset: papers go back in the folder, pens go back in the drawer, and the centre clears completely. Tomorrow’s first task, pages 51 to 58, is laid out in the centre.
Setup took 60 minutes on Sunday. Reset took five minutes on Monday. Tuesday starts with the task already in the centre.
When it goes wrong
The table is needed for dinner. Pack the kit and hand the table back on time. Study later if you can, or lay out tomorrow’s first task in the kit.
The light bothers your roommate. Check the light from their side of the room, and move the chair or the work until the light stays on your page. If it still bothers them, move to a common room or the library.
The evening light is poor. Move the chair closer to the room light, and test again at study time. If you still cannot read comfortably, move to a brighter room, and revisit Step 1.
The surface fills up again. Clear it completely, and sort the pile into daily, weekly, and stored. Give every item a home, and check whether the reset happened.
You keep drifting back to the bed. Stand up, take the kit, and go to the table, the common room, or the library. Do not study in bed.
There is no workable corner at all. Make the library your second place, with the study system for library study for running the session. Use a common room table as the backup spot, with the same kit and reset.
Weekly review checklist
Once a week, answer these in writing. Copy this list and use it as your own:
- Did I use the same spot at the same time each day?
- Was the centre clear at the start of each session?
- Did the light work at the time I studied, in the morning and in the evening?
- Did the reset leave the surface ready for tomorrow’s first task?
Change one thing only next week: the spot, one home, or the chair position.
Downloadable infographic spec: one vertical image, title “Small study desk setup”, with the five steps from “The system in short”, three rules, and the four weekly review questions, in Thynq cream, Cloud Purple, Dark Purple and pink, with the cloud mascot. Text taken word-for-word from this article.
What this system is not
It is not a promise of grades, and a tidy desk does not fix noise, time, or method on its own. It gives the rest of your study a place to happen, and it shows you quickly when the place is the problem.
It is not a shopping list, and it does not assume you can drill or rearrange the room. It does not recommend a folding desk or any other type of desk. If one item is still missing after a week, check what you can borrow or repurpose. Buying is not a step in this system.
It is not a quiet-hour agreement, a noise plan, or a study method. Those live in the articles linked above, and this system stays with the spot, the surface, the light, the storage, and the reset.
Sources
- Homefulness. Study Space Organisation Ideas. Supports the portable kit and the daily reset checklist in Steps 4 and 5, adapted here for students rather than family homes.
- EduDesk Studio. Dorm Desk Makeover. Published 1 November 2026. Supports the clear-centre layout, the check-housing-rules point, and the end-of-session reset in Steps 2, 4 and 5.
For the full system behind this method, start with how to build a study system that fits your life.
Questions
What if I do not have a desk at all?
Use a table end, a kitchen table, or a corner with a chair, and keep one bag, basket, or box as your kit. Set the kit out when you start, and pack it away when you finish. Do not study in bed.
How do I set up a study space in a shared bedroom?
Pick one surface and one chair, and agree when the surface is yours for study. Keep your light pointed at your work, keep your materials in one kit or drawer, and reset the surface when you finish so the room goes back to shared use.
How do I keep a small desk clear without buying storage?
Keep the centre clear, keep only the task in hand on the surface, and give every other item a home off the surface. Use a drawer, shelf, bag, or box you already own, and return items to those homes in the reset.
What lighting do I need if I cannot buy a lamp?
Use the window in the daytime and the room light you already have in the evening. Sit with the window to one side, check for glare at the time you study, and move the chair or curtain until you can read comfortably.